One Step Cleaver,One-Step Fiber Cleaver Tool,Portable One-Step Cleaver Kit,Usion Splicer Cleaver Guangdong Tumtec Communication Technology Co., Ltd , https://www.gdtumtec.com
Homemade 12 volt fast soldering iron detailed steps
**Introduction to Electric Soldering Irons**
A soldering iron is an essential tool used in electronics manufacturing and electrical repairs. Its primary function is to join components and wires together through the process of soldering. Soldering irons can be categorized based on their mechanical design, such as internal heating type and external heating type. In terms of functionality, they can also be classified into non-suction and suction types. Additionally, they are divided into high-power and low-power models depending on their application.
**Structure of a Soldering Iron**
Soldering irons come in two main types: external heating and internal heating.
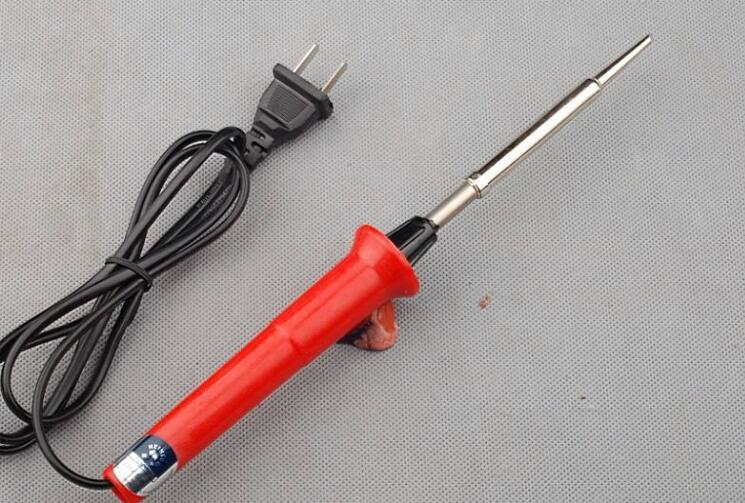
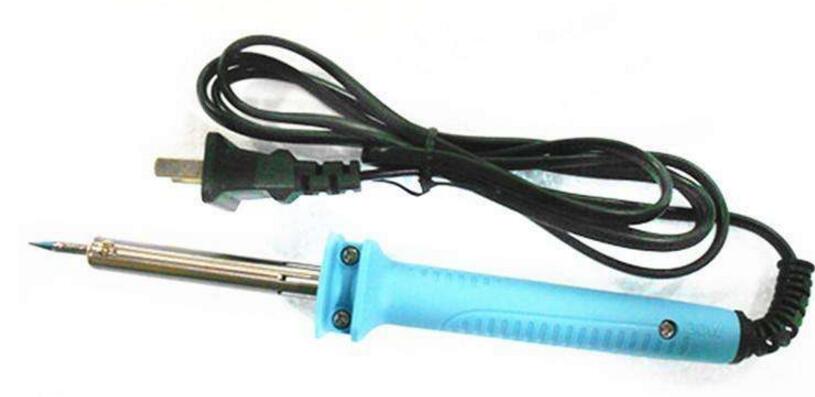
An external heating soldering iron consists of a tip, a heating element (iron core), a casing, a wooden handle, power cable, and plug. The tip is mounted inside the iron core, which is made by winding a heating wire around a hollow ceramic tube. A mica sheet insulates the layers, and the two ends are connected to a 220V AC power supply. Common power ratings for external heating irons include 25W, 45W, 75W, and 100W. The higher the power, the hotter the tip becomes.
Internal heating soldering irons have a more compact design, featuring a handle, connecting rod, spring clip, internal heating element, and tip. Since the heating element is placed inside the tip, it heats up faster and uses heat more efficiently. Common power ratings for internal heating irons are 20W and 50W. Due to its efficiency, a 20W internal heating iron is comparable to a 40W external model. When replacing the tip, the spring clip must be removed first, and the tip should be carefully pulled out using pliers.
**How to Use a Soldering Iron**
1. Choose the right solder—use low-melting-point solder wire for electronic components.
2. Prepare flux by dissolving 25% rosin in 75% alcohol by weight.
3. Tin the soldering iron before use. Heat the tip until the solder melts, apply flux, then spread the solder evenly over the tip.
4. Clean the component leads and pads with fine sandpaper, then apply flux. Dip the soldering iron tip into the solder and touch the joint. Once the solder flows, gently lift the tip along the lead.
5. Keep the soldering time short to avoid damaging components. If needed, use tweezers to hold the pins and help dissipate heat.
6. The finished joint should have a smooth, sinusoidal shape with a shiny surface and no excess or missing solder.
7. After soldering, clean the board with alcohol to remove residual flux and prevent corrosion.
8. When working with integrated circuits, ensure the soldering iron is grounded or turn off the power first. Alternatively, use a socket to solder the base before inserting the IC.
9. Always place the soldering iron on a stand when not in use.
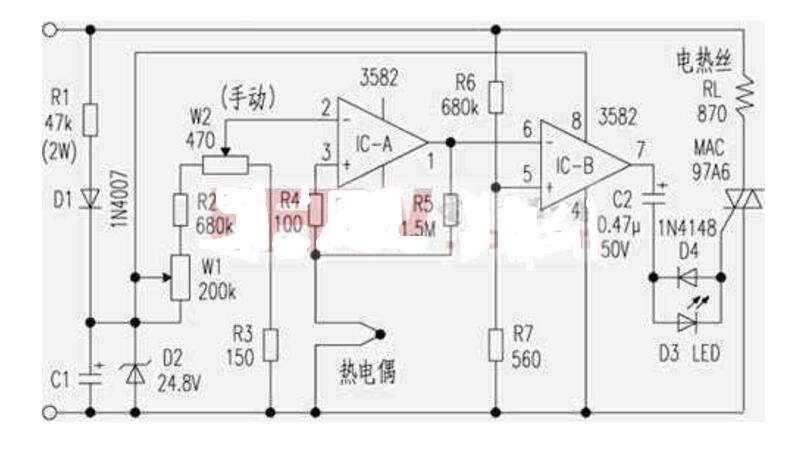
**Thermostatic Soldering Iron Circuit Diagram**
The temperature range of a thermostatic soldering iron typically spans from 100°C to 400°C. It features a temperature adjustment dial with low, medium, and high settings. The control accuracy is approximately ±5%, and it uses a thermocouple sensor for temperature detection. The circuit operates by stepping down the AC voltage, rectifying it, and regulating it for stable operation. The comparison circuit uses an operational amplifier to regulate the temperature. The output controls a triac, allowing for precise temperature control by adjusting the power delivered to the heating element.
**Steps to Build a 12-Volt Fast Soldering Iron**
**1. Gather Materials**
You will need a 220V/20W internal heating soldering iron, a 220V/500W electric iron, and a 12V/10AH battery for power.
**2. Production Steps**
1. Remove the 20W internal heating element from the soldering iron. Carefully take out the thin porcelain tube wrapped with the heating wire. Soak it in alcohol for about 30 minutes, then carefully remove all the wire. Handle the porcelain tube with care, as it is fragile.
2. Cut the heating wire from the 500W electric iron to one-fourteenth of its original length. Measure the resistance with a multimeter; it should be around 7Ω. Wind the wire neatly around the porcelain tube, connect the leads, and place it back into the original housing. This creates a low-voltage soldering iron.
3. The resulting 12V soldering iron has a power rating of 20W (calculated as 12² / 7). It can be powered by a 12V/10AH battery. The larger the battery capacity, the longer the soldering iron will operate without recharging.